
Mentoring Event Summary: Two Techniques to Improving Your Photography (Learning to See & Working the Shot)
- Jared Fein
- Aug 22
- 4 min read

Updated: Aug 24
On August 21, 2025 a hands-on mentoring event was held at Lakeside Park in Oakville to learn how to "work a shot" and "how to see better", to create more compelling images.
Everyone and their uncle has taken snapshots of the Oakville lighthouse and pier at Lakeside Park. But few of these photos are memorable or particularly interesting. Most are nothing more than snapshots. The purpose of the mentoring event was to learn how to take images to the next level by learning how to see better and working the shot.
The participants met by the pier at Lakeside Park where Jared gave a short introductory presentation on these important techniques. The group then explored the theme using their cameras and their minds to put theory into practice, then adjourned to a nearby pub for some lunch and good cheer.
Here is a copy of Jared's presentation. Attendees were ask to submit one of their amazing images taken. These are posted below.
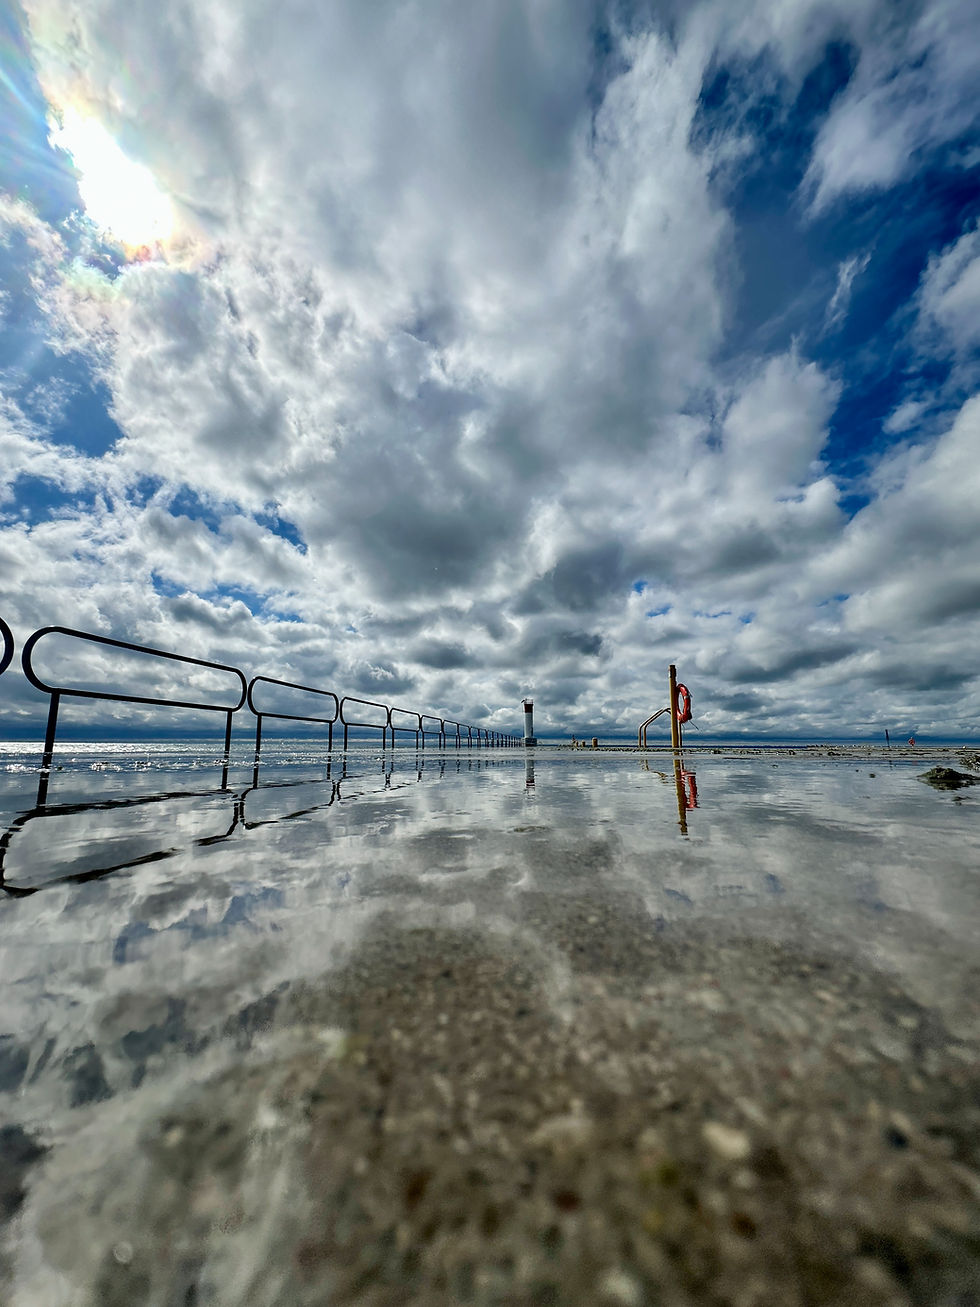
Images below in order, top to bottom: Wayne Schnurr, Catherine Smith, Allan Snow, Jared Fein, Sila Wohlers, Deepak Patel, Linda Hunter, Doug Boyce.
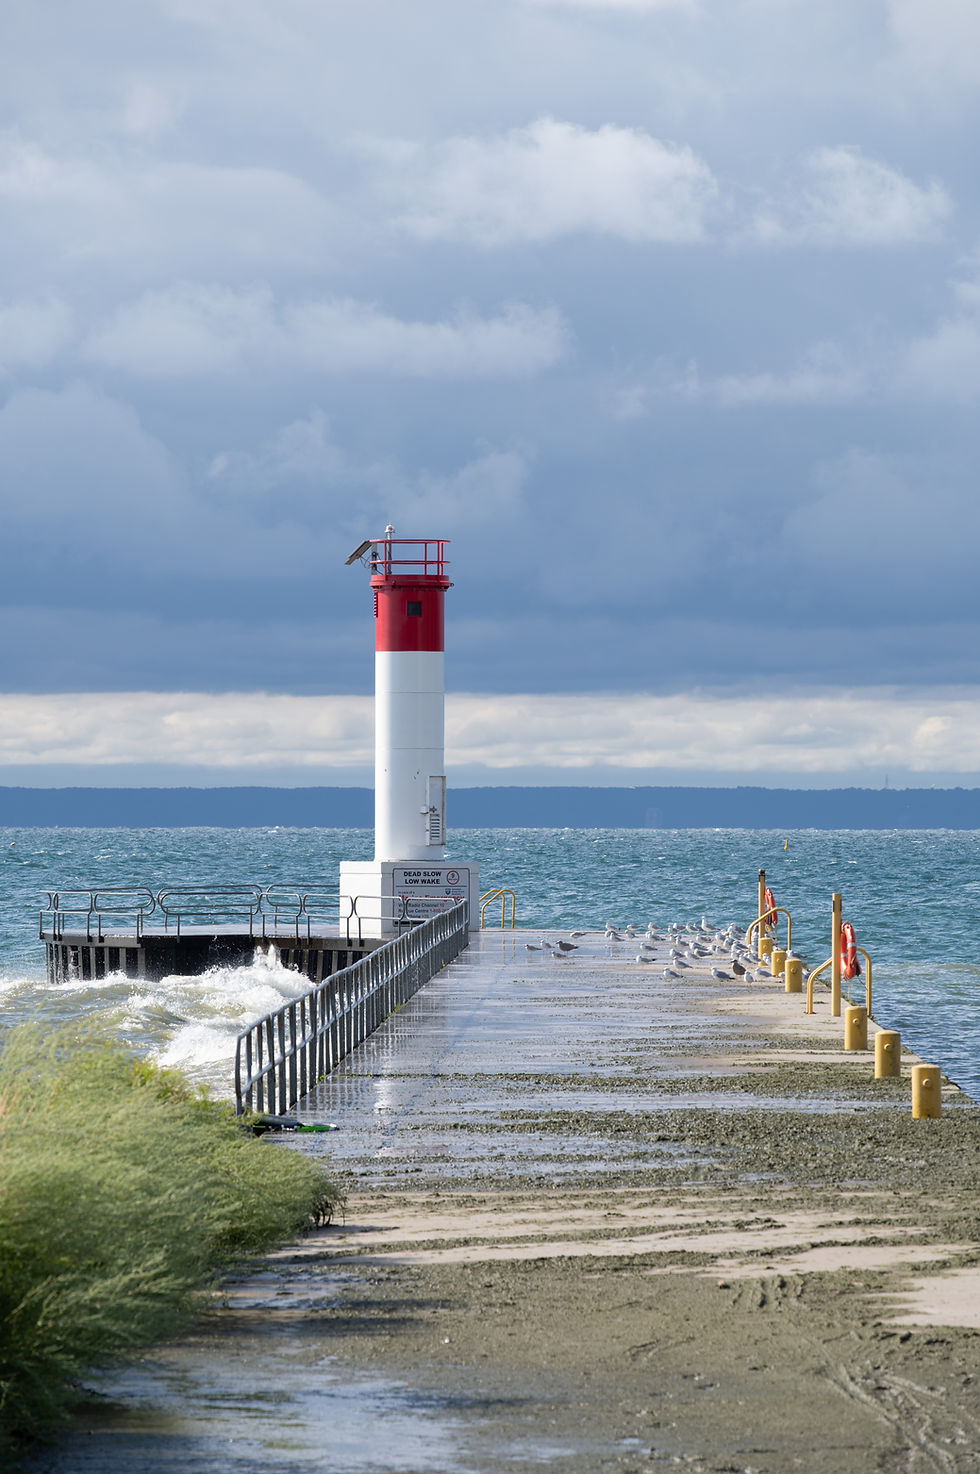
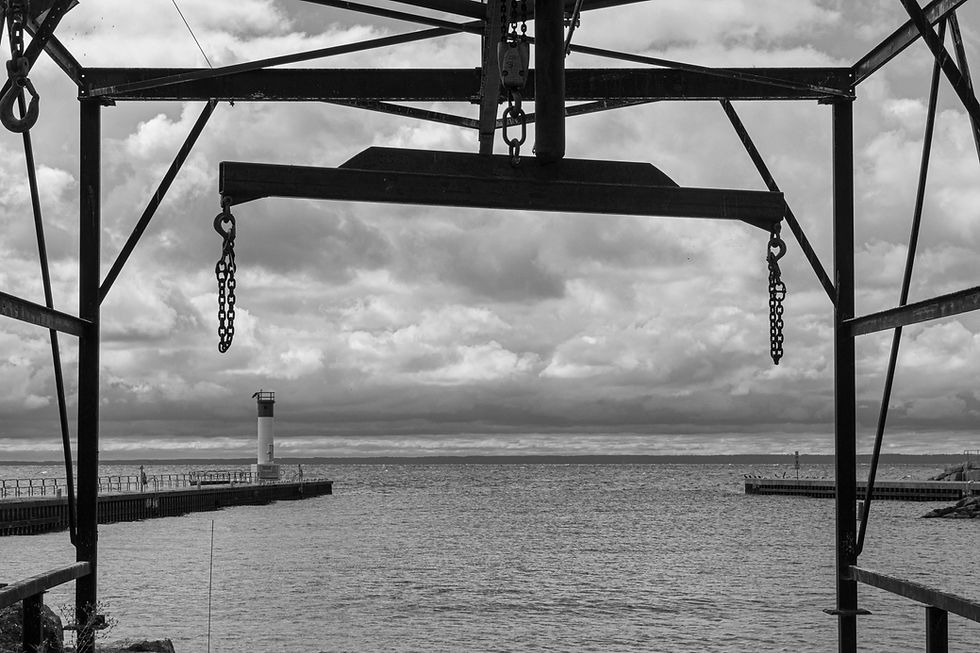
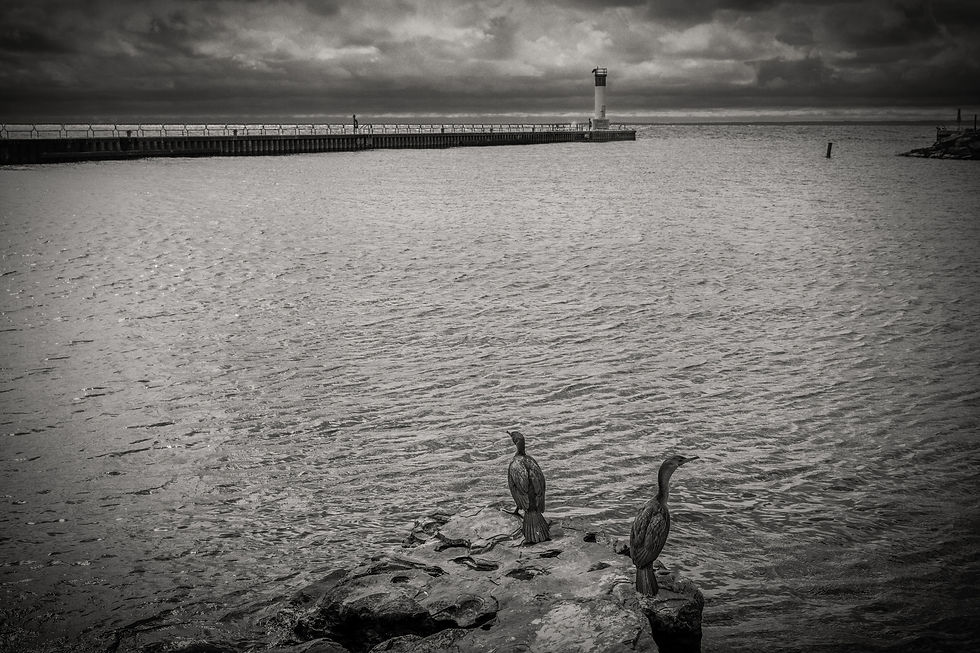

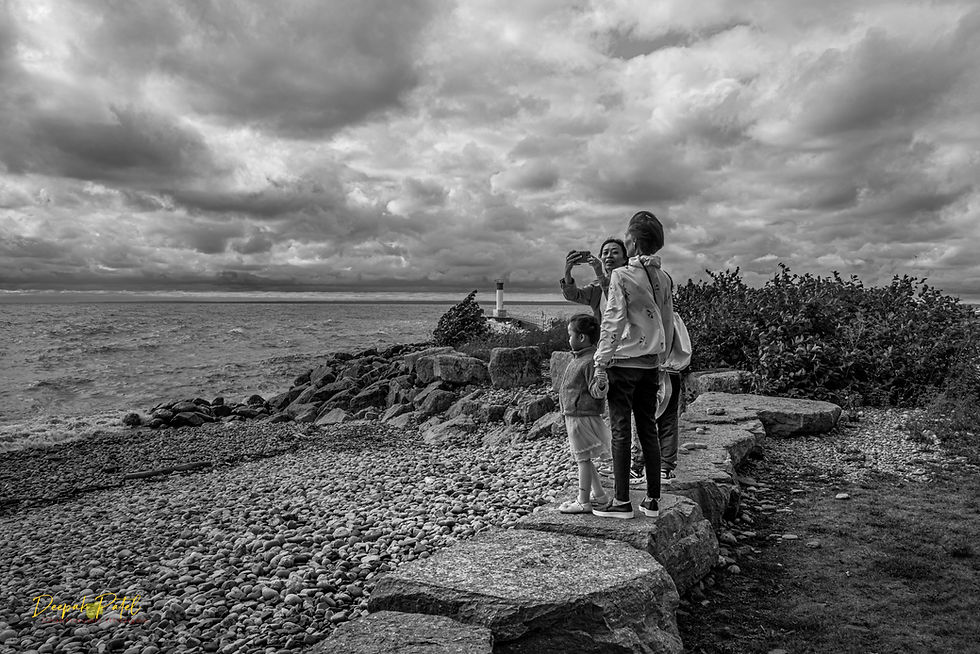
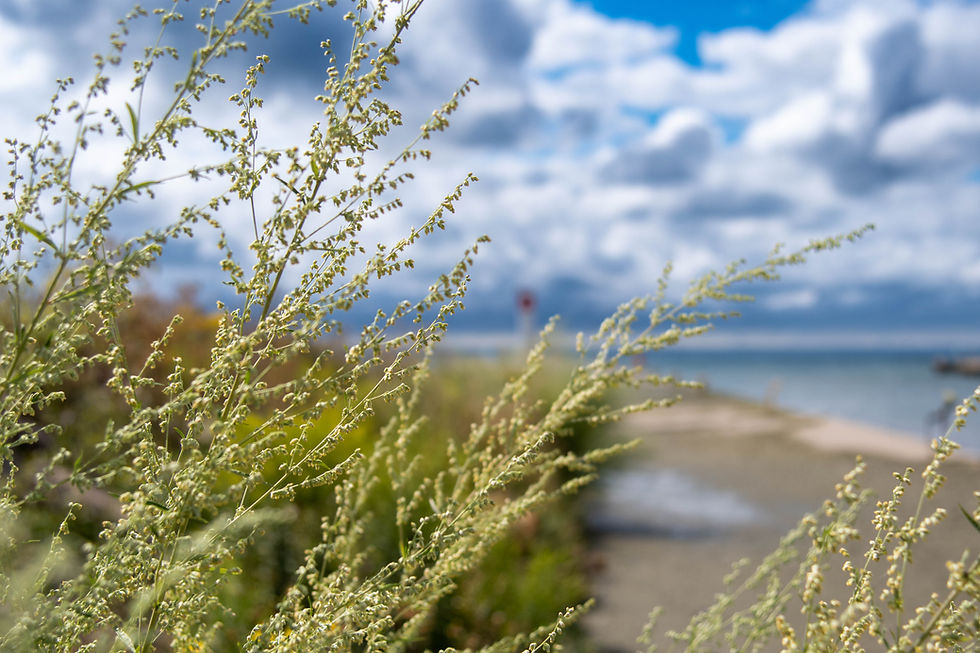
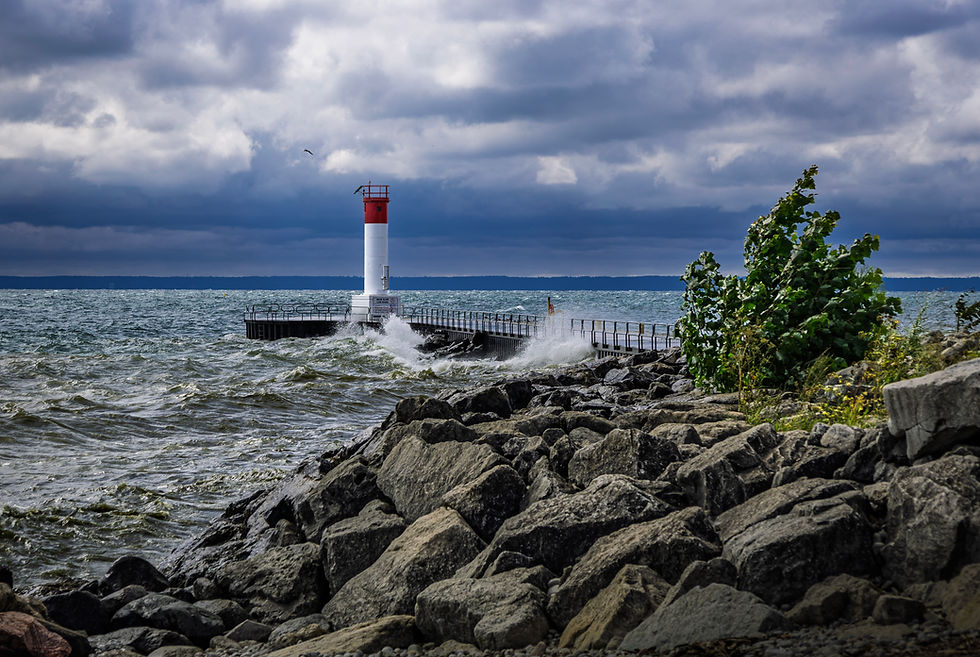
🔍 Images in order, top to bottom: Wayne Schnurr, Catherine Smith, Allan Snow, Jared Fein, Sila Wohlers, Deepak Patel, Linda Hunter, Doug Boyce.
Why Work the Shot and learn to See Better
1. The best photo is often not the first one you take. When arriving at amazing landscape we are often mesmerized by our surroundings. Our first tendency is to pull out our camera start shooting madly away, without really thinking about the composition or really seeing what is in front of you. We often stop after capturing a few images.
2. The techniques we will be talking about today are intended to help you go beyond obvious or common mediocre compositions. How and why to work a shot and learning to see better.
3. Leads to more thoughtful, creative, and intentional images.
Seeing vs. Looking:
4. Observation is the foundation of great photography, allowing you to uncover unique perspectives and capture moments others might overlook.
5. By training yourself to be attentive, you’ll start to anticipate events before they happen. For example, being prepared to capture a bird poised to take flight, or a child about to come up with an adorable expression, or other human emotional moments.
6. Above all, observation lets you tell a story: you’re not merely taking a picture, you’re conveying what you saw and felt in that moment.
Learning to See – Ansel Adam’s noted that the most important part of the camera was the 12” behind it! Training yourself to be more observant:
7. Observe first: Scan the scene before lifting the camera.
8. Look for visual cues: Light, shadow, shape, color, texture, gesture, patterns, repeating shapes, reflections, areas of beauty, hidden beauty
9. Think about composition: Creative framing, rule of thirds, leading lines, negative space, etc.
10. Simplify: Eliminate distractions from the frame edges, background or anywhere else in the photo.
11. Notice the way the elements interact: for example, the lines of a building, the patterns in a field, on a street, on a flower bed, etc.
12. Look for layers: Foreground, mid-ground and background interest to create images that feel 3d.
13. Think about elements whose inclusion in an image would make the image more compelling: a cow or rainbow in a field, a person in a landscape image to convey a better sense of scale, an insect on a flower, a choice position of the moon in a night landscape or the clouds in a daytime image. Learn to plan for the decisive moment.
14. To do this requires one to slow down and observe and think before pressing away on the shutter release button. And with more practice observing, the easier you will be able to do it and you will a real growth in quality of your photography.
🧠 Techniques to Train Your Eye
15. Practice “sketch shots”: quick frames to experiment with composition & different camera settings
16. Use a viewfinder or hand-frame to isolate and test visual ideas.
17. Study great photographers and painters - what choices did they make? How did they use or break the rules of composition.
18. Analyze your own photos: What’s working? What could be better? Look at the work of other’s on web sites like Flickr and do the same.
🎯 How to Work the Shot
19. Move around: Cardinal Rule: Don’t glue your feet to the ground! Walk around and try different angles (high, low, left, right), distances (close/far). Use your feet to zoom. Experiment!
20. Change perspective: Horizontal vs vertical, wide vs tight.
21. Try different camera settings: shutter speed (waterfalls), Aperture (DOF)
22. Wait for better moments: Light shifts, human presence, background changes, cloud positions, etc. The appearance of birds or other interesting elements, fleeting expression on someone’s face
23. Shoot more than one version: Push past your first instinct.
On-Location Best Practices
24. Scout locations ahead of time if possible. If not in person, then on the WWW.
25. Be patient and wait for your moment.
26. Previsualize different possibilities.
27. Return at different times of day for changing light.
28. Don’t rush—give each scene a chance.
✅ Takeaway Tips
29. Shoot with intention, not impulse.
30. Push yourself to shoot at least 10 perspectives on every scene.
31. Train yourself to “see” photographically, even without a camera.
32. Less about gear—more about what you notice and how you frame it.
📷 Challenge to Try
33. Pick a familiar location and create 5 compelling images from it—no changing areas, just changing your seeing.
34. Lock yourself in a bathroom and make 100 shots!
A great reference: The Importance of Observation in Photography. Anthony Morgani,
